Images play a major role in how your website looks and performs. Using the right sizes, formats, and descriptions helps keep your site fast, accessible, and search-friendly.
This lesson covers the basics of handling images correctly.
1. Image Sizing
Use appropriately sized images
Uploading extremely large images (5–20 MB) can slow down your site. Aim for:
- Hero / full-width images: 2500px wide
- Regular images: 1200–1600px wide
- Small images (thumbnails, headshots): 400–800px wide
Here is our full guide on how to appropriately size your images.
2. Image Compression
Compressing an image reduces the file size without impacting quality. This is a simple step that will help your website load more quickly. You can easily do this directly inside Webflow.
Here is a video from Webflow University showing how to compress images in the CMS and assets panel.
3. Alt Text
Alt text describes what an image shows. It's important for both accessibility and SEO. All that is needed is a one- sentence description of the image. Here is how to add it:
Images in the CMS
We have added a field to any of your collections where alt text is needed for an image. This field is already connected to the image so you can write the image descriptions directly in this field.
Images not in the CMS
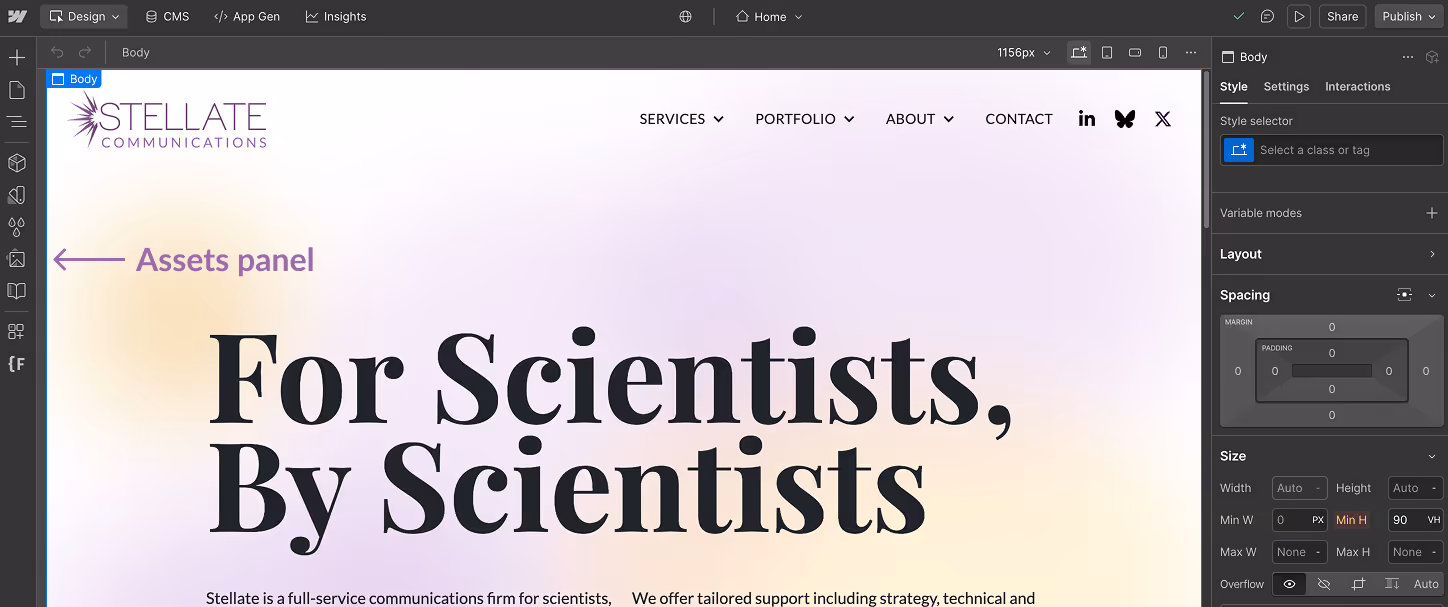
- Click on the assets panel on the left sidebar menu. It has an icon of an image.
- Hover over the image you want to add alt text to and click the gear icon.
- Add your alt text in the text box.
- Note: you can use Webflow's AI tool to generate a description. Just make sure to check its accuracy.